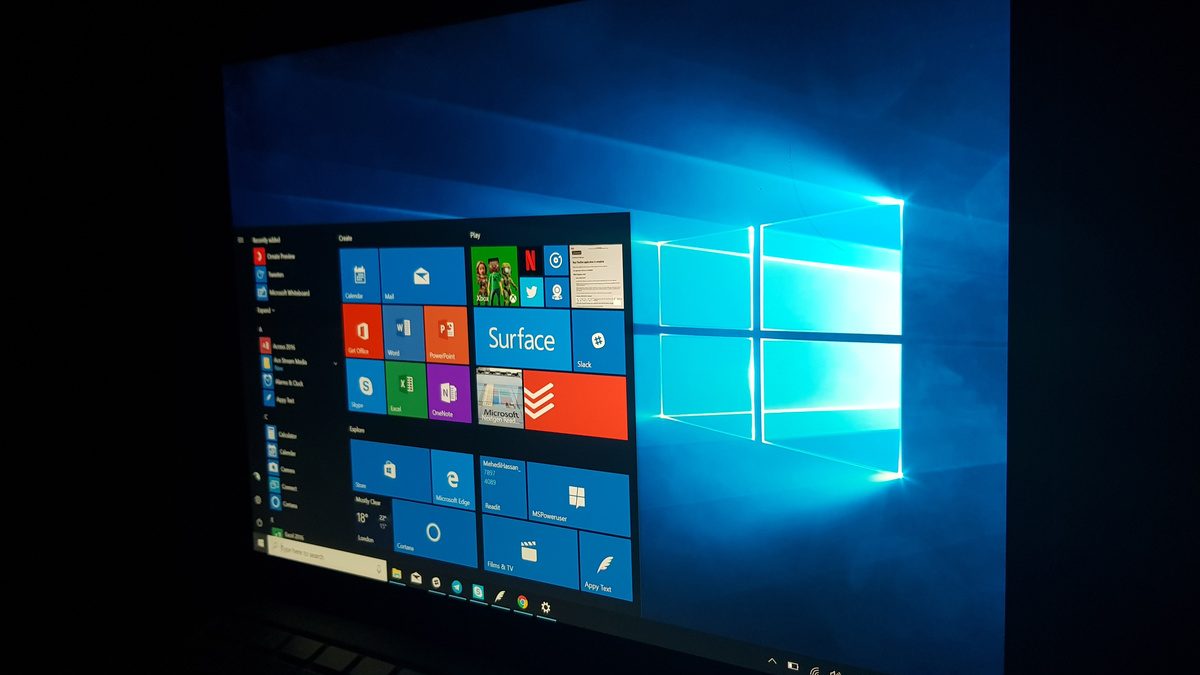
Updating Windows is the best thing that we can do for the security of our PCs. It fixed bugs, vulnerabilities and make it more secure. However, after updating you may find that it runs more slowly. Why and what can you do about it? Perform these maintenance tasks to restore the speed. Here, we are going to learn how to speed up Windows 10 after an update.
Run Disk Clean-up
One problem is the number of files that are created during a major update. The update itself is around 5 GB but that is not the worst of it, a backup of the Windows folder is made and this could be over 30 GB on an old and well used PC. The total space usage could grow by 40 GB during and after an update.
Windows will eventually get around to cleaning up the system, but it could take up to a month and you don’t want unwanted files hanging around for so long.
One problem is that it could make the disk short of space and when space is low, Windows runs slow. Another problem is that the large number of files adds to the disk clutter. Mechanical disk drives work best when there is a lot of free space and a lot of PCs still have mechanical disks.

- Go to the Start menu
- Expand Windows Administrative Tools
- Click Disk Clean-up
- Click Clean up system files
- Select everything
- Click OK
Microsoft has been slowly moving lots of old tools, features and settings into the new Windows Settings app, so you’ll find similar features in Settings > System > Storage > Free up space now. Disk Clean-up is still better, but try both.
Replace updated drivers
The major Windows updates will sometimes replace drivers with newer versions, but occasionally those drivers are not as good as the ones you were using. After every spring and fall update I have to reinstall the manufacturer’s audio drivers because they are replaced by Microsoft and they do not work as well.
However, don’t replace drivers unless there is a problem. It is obvious with my audio drivers and you can hear the difference, so it might be an exception. It is useful to keep a copy of the PC’s original drivers just in case problems arise with Windows Update.
Check the disk for errors
Thousands of files are moved or created during a major Windows update and it is a good idea to check the disk for problems. This can be done by right clicking the C: drive in Explorer, selecting Properties, then the Tools tab and clicking Check.
I prefer the old command prompt method that has worked since the days of DOS. Right click the Start button and select Command Prompt (admin). You can also find Command Prompt near the bottom of the Start menu and right click it to run it as an administrator.
At the command prompt, enter chkdsk c: /f
It always says it can’t do it now, but will do it on the next restart, so close the command prompt window and restart.
Defrag the disk
If you have a PC with a solid state drive then defragging is not a concern. They cannot be defragmented and even if you did it, there is no benefit. However, many PCs still have mechanical disk drives and the large number of files that are moved, deleted, and written when upgrading an old version of Windows to a new version means that fragmentation is inevitable. Files become divided into small parts that are scattered across the disk drive and this makes them slower to access.
Windows 10 might seem fast, but maybe it could go even faster by optimising the disk contents after an update. Defrag after cleaning the disk because you don’t want to optimise junk!
For a while now, Windows has hidden the disk defragmenter and made it automatically run behind the scenes. It does a reasonable job of keeping the disk drive optimised, but that does not mean it is perfect and cannot be improved upon. Open an Explorer window, select This PC on the left to show the disks attached to the computer. Right click the C: drive and select Properties on the menu that is displayed.
When the Properties window opens, select the Tools tab and click the Optimise button. As it says, optimising your computer’s drives cab help it to run more efficiently.
When the Optimise Drives window opens, select the C: drive and click Analyse. This shows the percentage of fragmentation.
Bijay Pokharel
Related posts
Recent Posts
Subscribe

Cybersecurity Newsletter
You have Successfully Subscribed!
Sign up for cybersecurity newsletter and get latest news updates delivered straight to your inbox. You are also consenting to our Privacy Policy and Terms of Use.


