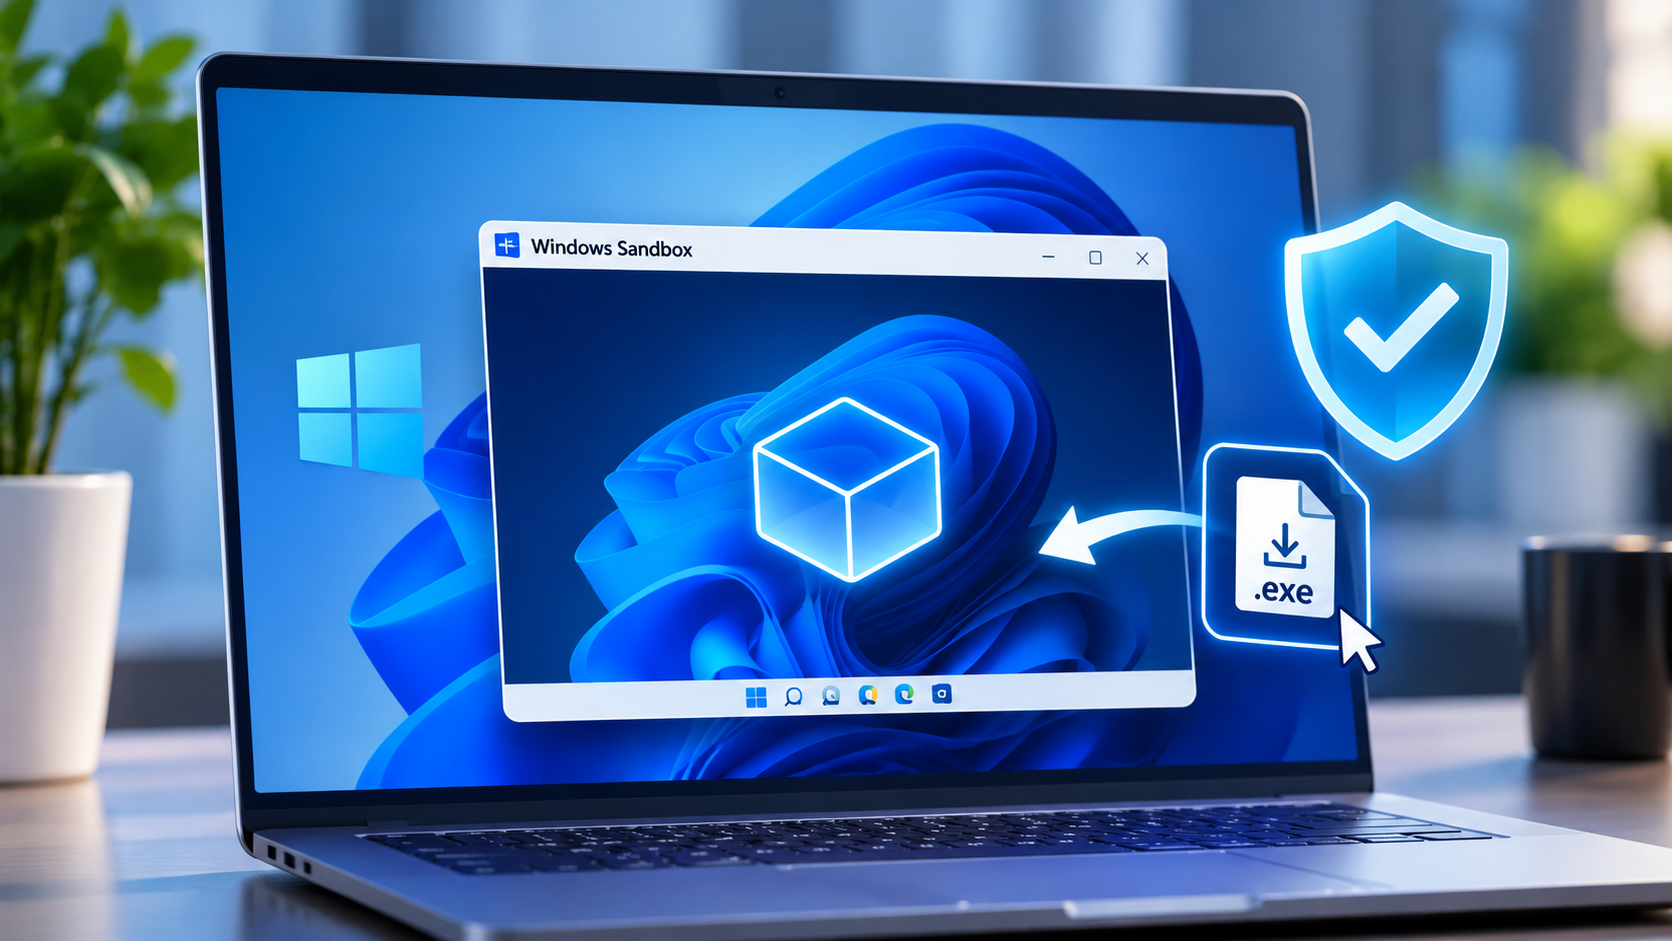



Want to try an unfamiliar Windows program without installing it on your main desktop? Windows 11 includes a built-in feature called Windows Sandbox that opens a temporary, separate Windows environment. You can install an app, inspect a file or test a setting there, then close the window to discard the session.
Sandbox is useful for reducing the risk of experimenting on your everyday PC, but it is not a guarantee that every unknown file is harmless. Its default settings also allow networking and clipboard sharing, so it is worth checking the configuration before testing anything suspicious.
Check whether your PC supports Windows Sandbox
Windows Sandbox is available in Windows 11 Pro, Enterprise, Pro Education/SE and Education. It is not supported in Windows 11 Home. Your computer also needs an AMD64 processor, or Arm64 on Windows 11 version 22H2 or later, hardware virtualization enabled in firmware, at least 4GB of RAM (8GB is recommended), 1GB of free storage and two CPU cores.
To check your Windows edition, open Settings > System > About and look under Windows specifications. To check virtualization, open Task Manager, select Performance > CPU and look for the Virtualization status. If it says Disabled, you may need to enable Intel VT-x or AMD-V in your PC’s UEFI/BIOS settings. The exact name and location depend on the computer manufacturer.
Microsoft lists the supported Windows editions in its Windows Sandbox overview and the hardware prerequisites in its installation guide.
How to enable Windows Sandbox
Once you have confirmed that your edition and hardware are supported, turn on the optional Windows feature:
- Open the Start menu and search for Turn Windows features on or off.
- Open the matching Control Panel result.
- Find Windows Sandbox in the list and tick its checkbox.
- Select OK and wait while Windows applies the change.
- Restart the PC if Windows asks you to do so.
After restarting, open Start, type Windows Sandbox and select the app. Windows opens a clean desktop in a separate window. The first launch may take a little longer while the environment is prepared.
Understand the default Sandbox settings
A standard Sandbox session is convenient for testing trusted software, but Microsoft enables some connections by default. Networking is on, and clipboard redirection allows you to copy text and files between the host PC and the Sandbox. Audio input is also enabled by default on supported devices.
That matters when you are testing an unknown installer or attachment. A program inside the Sandbox may still reach the internet or communicate with devices on your local network when networking is enabled. Clipboard sharing can also expose information you copied on your normal desktop.
Create a more restricted Sandbox for an unfamiliar file
For a file you do not trust, use a custom configuration that disables networking, virtual GPU support and clipboard redirection, and exposes only one dedicated folder as read-only. This follows the approach in Microsoft’s sample Sandbox configuration, with a separate test folder instead of sharing your whole Downloads directory. Disabling the virtual GPU can make graphics-heavy apps run more slowly because Sandbox switches to software rendering.
First, prepare a folder: Create a folder named C:\SandboxTest on your PC and copy only the file you want to inspect into it. Do not run the file on your normal Windows desktop.
Open Notepad on the host PC and paste this configuration:
<Configuration>
  <VGpu>Disable</VGpu>
  <Networking>Disable</Networking>
  <ClipboardRedirection>Disable</ClipboardRedirection>
  <MappedFolders>
    <MappedFolder>
      <HostFolder>C:\SandboxTest</HostFolder>
      <SandboxFolder>C:\Test</SandboxFolder>
      <ReadOnly>true</ReadOnly>
    </MappedFolder>
  </MappedFolders>
</Configuration>
Save the file as TestFile.wsb. In Notepad’s Save As window, choose All files as the file type and put the name in quotation marks if necessary so Windows does not add a .txt extension. Save it somewhere easy to find, such as the desktop.
Double-click TestFile.wsb. The Sandbox opens with networking and clipboard sharing disabled. Inside its File Explorer, open C:\Test and select the file you placed in the host’s test folder. The mapped folder is read-only, so changes made by the app cannot be written back to that folder.
Because networking is disabled, an app that needs an internet connection may not work correctly. Do not turn networking back on just to make an unknown program run. If you need to test a trusted app that requires internet access, use the standard Sandbox only after considering the risks.
What happens when you close Windows Sandbox?
When you close the Sandbox window, Windows asks you to confirm that you want to discard its contents. Select OK only when you are ready to remove the session. Programs installed inside it, downloaded files and other changes made in the temporary environment are deleted. The next launch starts with a fresh instance.
Do not keep your only copy of an important document inside Sandbox. If you need to preserve output from a trusted test, plan a controlled way to move it out before closing. Avoid making a writable shared folder available while testing an unknown file: Microsoft warns that changes to writable mapped folders persist on the host even after the Sandbox is closed.
Windows Sandbox is not a perfect security guarantee
Sandbox uses hardware-based virtualization to separate its environment from the host, but it should be treated as one layer of risk reduction, not as a replacement for Windows security updates, Microsoft Defender or careful download habits. Do not sign in to personal accounts, open sensitive documents or expose your Desktop and Documents folders while testing suspicious software.
Be especially cautious of websites that ask you to paste commands into PowerShell or the Run box to fix a supposed problem. These instructions are commonly used in ClickFix malware tactics to trick people into running malicious commands themselves. A Sandbox is not a reason to follow instructions from an untrusted pop-up.
Fix common Windows Sandbox problems
Windows Sandbox is missing from Windows Features
Check that the PC is running a supported edition rather than Windows Home. Then confirm that hardware virtualization is enabled. If Windows is running inside another virtual machine, nested virtualization must be enabled by the hypervisor. Restart Windows after changing firmware or optional-feature settings.
Sandbox opens and then closes or fails to start
Make sure the computer meets the memory, storage and processor requirements. Check for pending Windows updates, restart the PC and try launching Sandbox again. If the issue began after changing a .wsb file, open the file in Notepad and check that every XML tag has a matching closing tag and that the mapped host folder actually exists.
If this article helped you, please consider supporting our work. Every small contribution keeps Abijita.com independent and running.

The test file is not visible inside Sandbox
Confirm that the file is inside the exact host folder listed in the .wsb configuration. The path must be an absolute Windows path, and the folder must exist before Sandbox starts. If you change the configuration, close the current session and launch the .wsb file again.
For more control, Microsoft documents the available Windows Sandbox configuration options, including networking, mapped folders, clipboard redirection and memory limits.