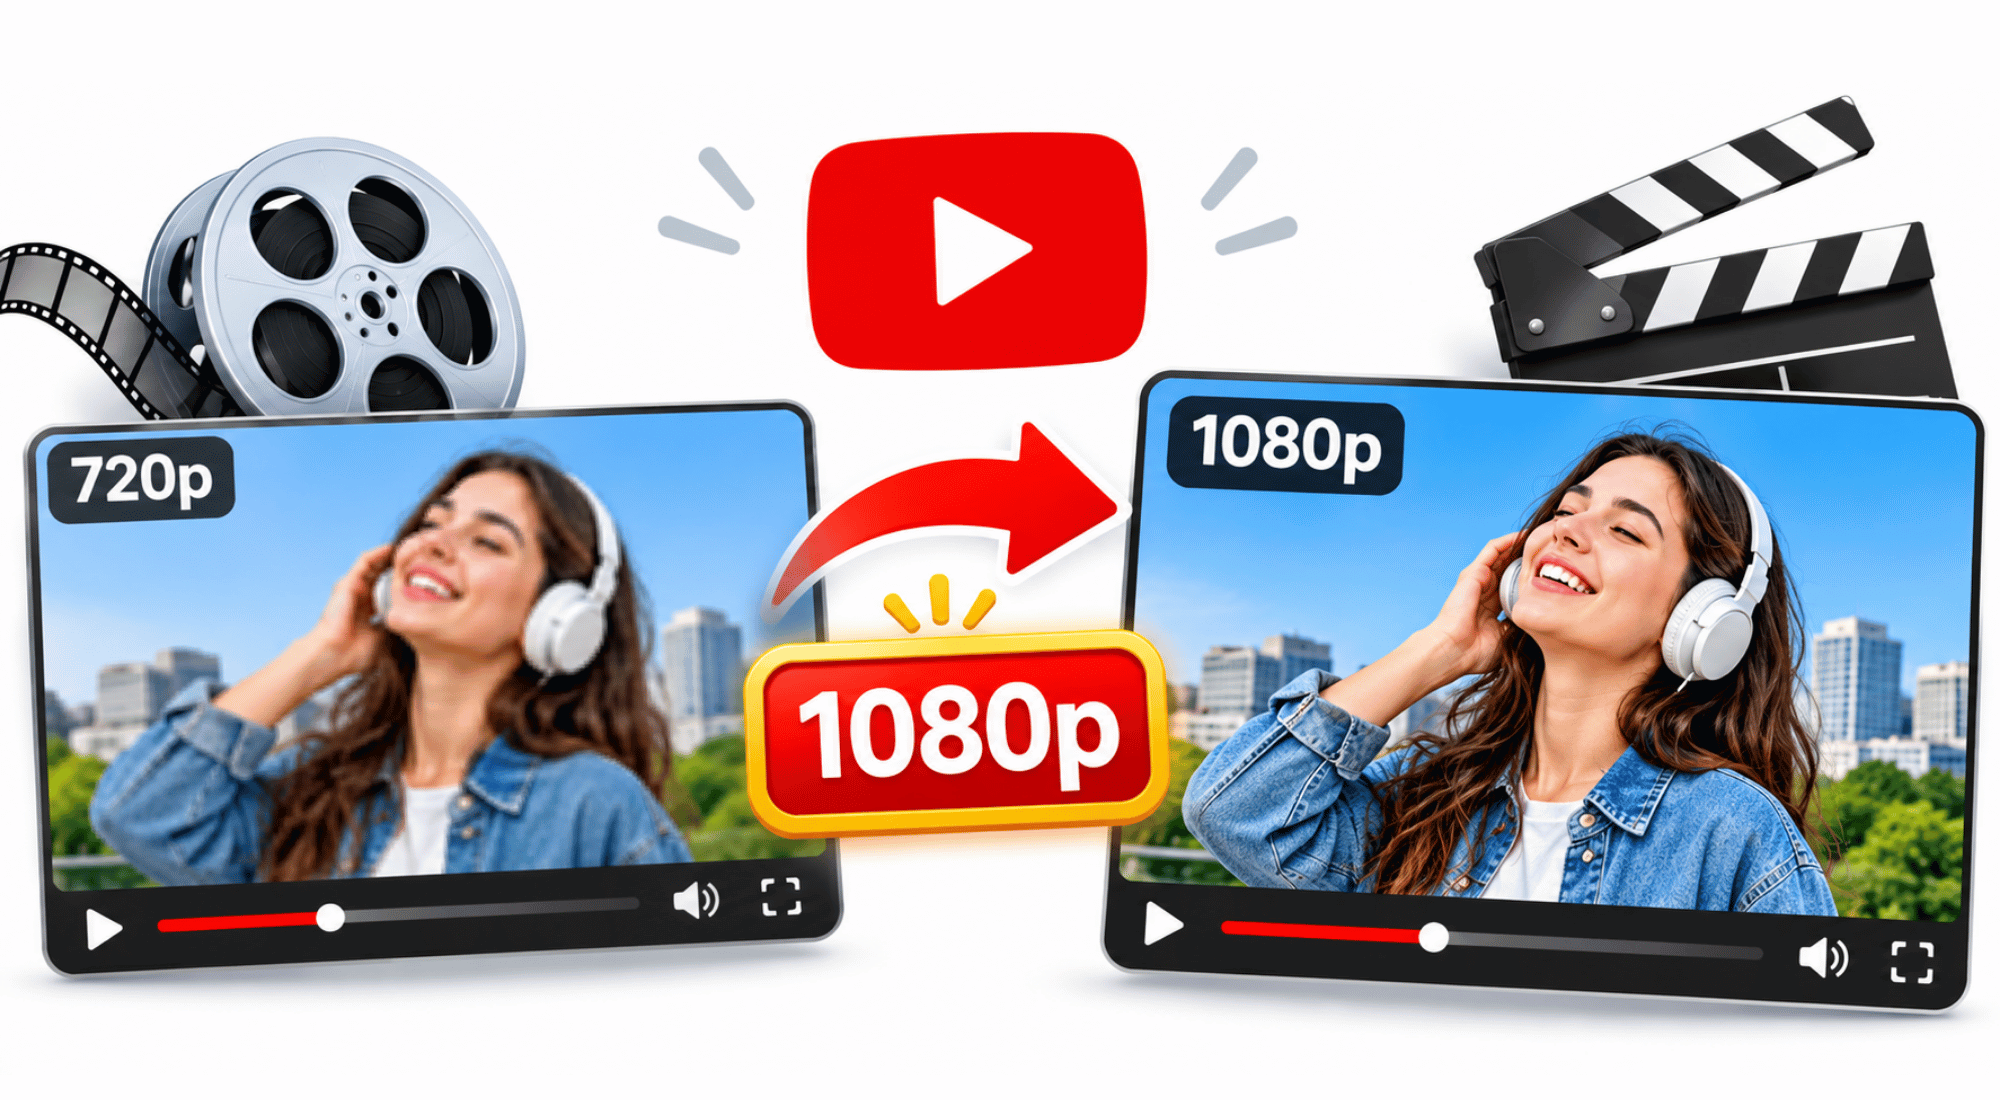



Still uploading 720p straight to YouTube? That’s probably why it looks soft afterward.
If you upload 720p straight to YouTube, it will “recompress” it automatically – whether you want it or not. Many channels lose quality at that step. A file that looks okay on the phone can turn out soft, with blocky shadows and text that looks mushy once YouTube finishes processing.
One of the simplest fixes YouTubers use now is “converting” that 720p file to 1080p before uploading. Not just resizing it bigger, but actually converting it to a clean HD file so YouTube’s encoder has more detail to work with.
Here is a practical workflow for doing that online, and for FREE.
Why YouTube Handles 1080p Better Than 720p
YouTube gives more bitrate to 1080p uploads. Your footage could be 720p, but upload it as 1080p, and YouTube treats it like “true” full HD and gives it more data. The result is fewer compression artifacts for viewers. Basically, less of that pixelated, smeared look you get after YouTube compresses 720p again – the video holds detail better.
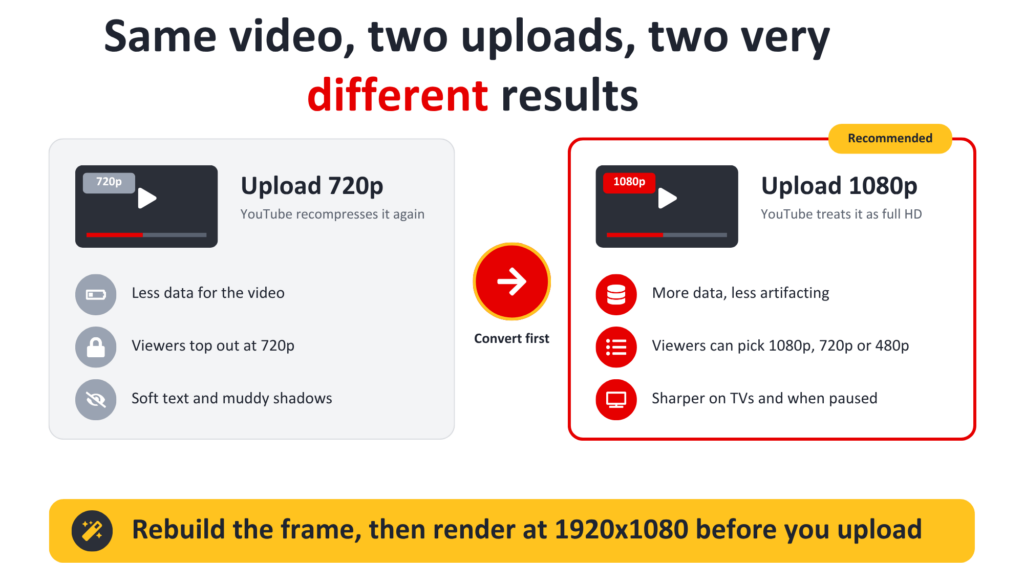
Secondly, most people watch YouTube in 1080p or Auto anyway. If you only upload 720p, that’s it – that’s the max they can watch. If you post in 1080p, however, they have options to choose from, such as 1080p, 720p, 480p. The difference is very visible on bigger screens when they pause on the text.
Still, how you transition from 720p to 1080p is critical. A traditional resizer just stretches 1280×720 to 1920×1080. Bigger, yes. Sharper, no. A real HD converter actually rebuilds the frame – it cleans up noise, makes the edges tighter, fixes the color a bit, and then renders it at 1920×1080. That rebuilt file survives YouTube’s second compression way better.
Does YouTube Have Its Own Converter?
Yes. YouTube processes every video you upload, which is probably why this gets confusing. Its conversion system prepares your file for playback at different quality settings. But it doesn’t do the same job as an actual video converter you use before uploading.
Upload a 1080p video, for example, and YouTube creates lower-resolution versions for viewers with slower connections. Those are the choices you see in the player, such as 360p and 720p. The available settings depend on your upload and whether processing has finished.
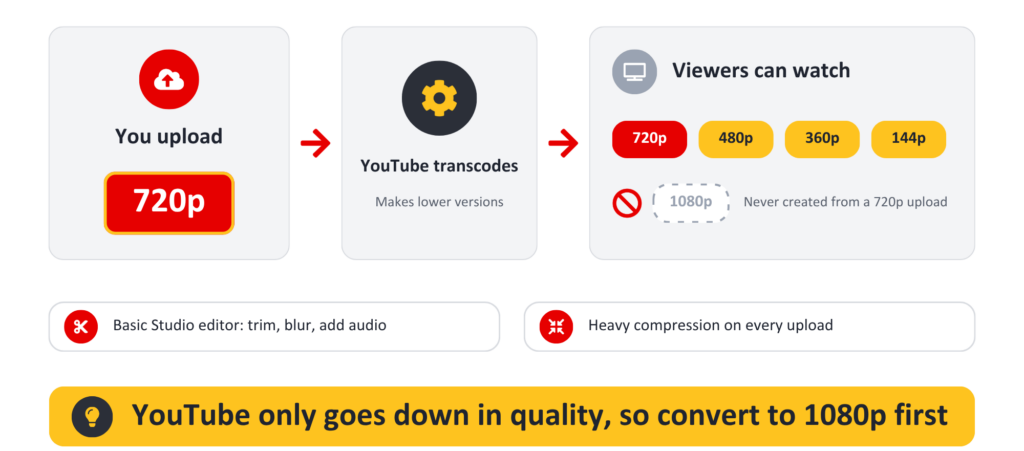
YouTube Studio also has editing tools for jobs like trimming footage or blurring part of the picture. Those changes can trigger another round of processing, but they won’t increase the resolution of your recording.
Think of it like this: YouTube’s processing is built to go down, not up. Give it a 720p file, and it will make 720p, 480p, 360p, etc. for viewers. It won’t create a 1080p version from that.
So if a 1080p playback option is needed, it has to be made and uploaded as 1080p from the start. That’s why converting to 1080p before uploading has become the standard workaround, instead of relying on YouTube.
Why Use Wink Instead of Letting YouTube Do It?
For YouTube, you want control before YouTube touches your file. Wink gives you that control. Its 720p to 1080p converter runs right in the browser, and the process is straightforward – rebuild detail, clean noise, and export as true 1080p, 2K, or even 4K.
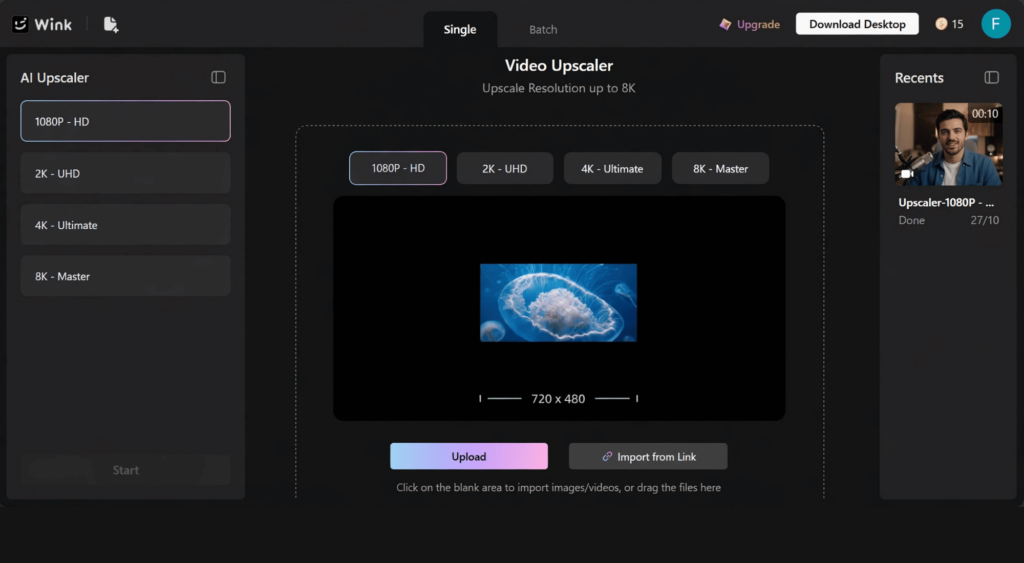
We tested it with a file to check if this workflow actually works. Our source was a 720p MP4, 42 seconds, 34.1 MB. It is a talking-head clip: a speaker in an office with some text overlay at the bottom (as shown below). This is the kind of file you get from a webcam or Zoom recording – mild grain in the shadows, soft edges around hair and hands.

We went to Wink, dragged the file in, picked 1080p, and hit Start. It started uploading and processing in seconds. No freezing; the browser stayed smooth.
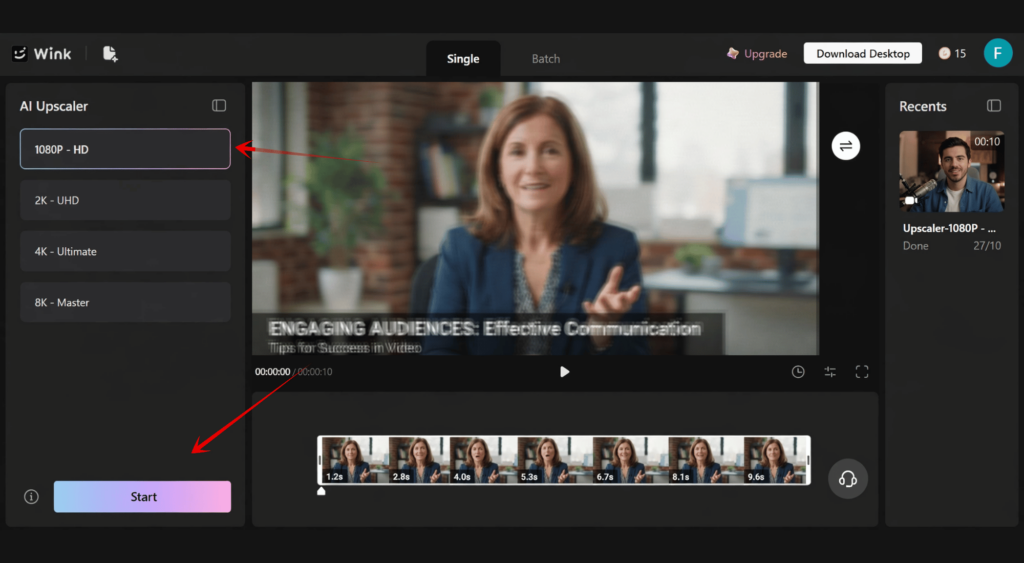
About a few seconds later, we had the final file – 1920×1080, 58.3 MB, no watermark, audio perfectly in sync.
You can look at the result below – the grain on the wall is gone, and the skin still looks natural. The product label that was unreadable before? You could actually read it when you paused. No flicker when the light changed near the window either. When we uploaded that file to YouTube as unlisted, it kept way more detail than the direct 720p upload – especially the text and shadows.

Common Mistakes That Make 720p Look Worse on YouTube
Uploading vertical 720p without conversion. YouTube Shorts get compressed hard too. A 720p Short often looks blurry in the feed. Converting to 1080p first gives it more pixels to survive.
Upscaling twice. Don’t take a 720p file, upscale it badly to 1080p in one app, then run it through another. Always go straight from the original 720p to a clean 1080p in one go.
Exporting at a crazy high bitrate. You don’t need 100 Mbps for a talking head video. The 1080p file from Wink is already optimized. Uploading a massive file just makes the upload slow without any visible benefit.
Forgetting audio. The converter keeps your original composition and sync, but if your original 720p had echo or low volume, that will stay. Fix audio in your editor before or after the conversion.
Who Actually Needs This?
We see this help a lot of people:
- New YouTubers shooting on older phones that only do 720p
- Gaming channels with 720p screen recordings that need to look sharp at 1080p
- Tutorials where on-screen text has to stay readable after compression
- People turning old 720p vlogs into clean 1080p re-uploads
- Vertical Shorts that look soft at 720p
Final Take
YouTube is going to recompress whatever you give it. That’s just how it works. But if you give it a clean 1080p file instead of a 720p one, it has more data to work with. What your audience ends up seeing is much closer to what you actually edited.
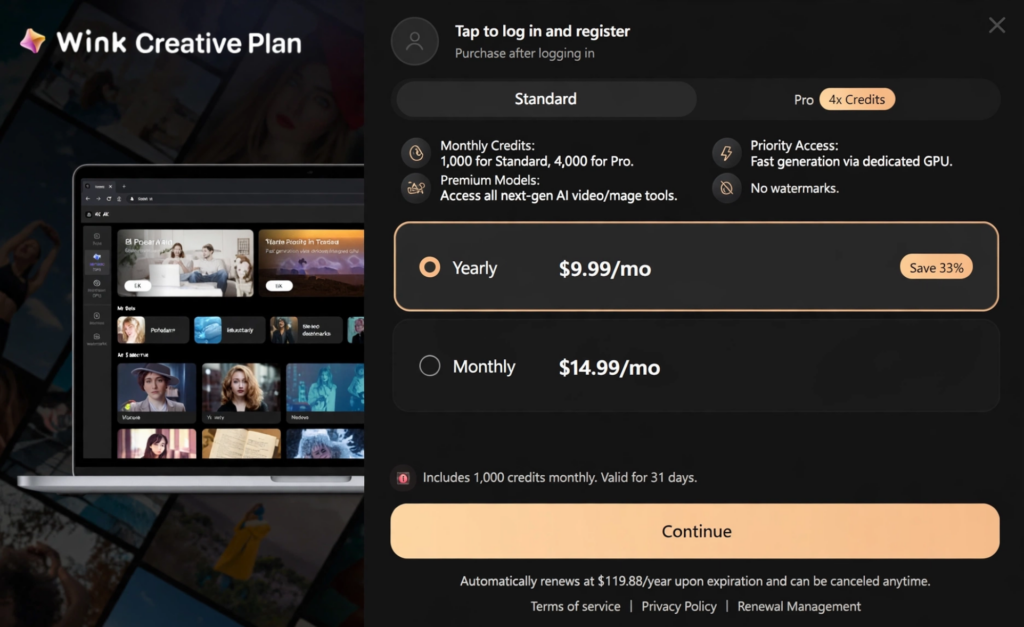
The quickest free way to do it right now is to convert your final 720p cut to 1080p in your browser before you upload. Drop your 720p file into the Wink 720p to 1080p converter, choose 1080p, download it, and upload that version.
If this article helped you, please consider supporting our work. Every small contribution keeps Abijita.com independent and running.

It adds maybe two minutes to your workflow, and you will see the difference right away – especially on text and low-light shots.
Our suggestion: upload both versions as unlisted – your original 720p and the converted 1080p – and compare them on your phone and laptop. Most creators don’t go back to 720p after that.