
How to Use Quick Assist in Windows 11 to Help Someone Remotely
 Bijay Pokharel,
November 15, 2026
6 min read
When someone in your family cannot fix a Windows setting, printer problem, or app issue, explaining every click over the phone can take a long time. Microsoft Quick Assist makes it easier by letting one person view another person’s Windows screen and, with permission, control the computer remotely. It is useful for helping someone you know, but it should only be used with people you trust.
This guide explains how to install and use Quick Assist in Windows 11, how to approve a connection, when to allow full control, and how to end the session safely.
What you need before using Quick Assist
Both computers need an internet connection and must be able to reach Microsoft’s Quick Assist service. Quick Assist works on Windows 11 and Windows 10. The person providing help (the helper) must sign in with a Microsoft account or a Microsoft work or school account. The person receiving help does not need to sign in.
Quick Assist is a remote connection, not just a screen-sharing video call. The helper can see what is open on the other computer. If the person receiving help approves a separate control request, the helper can also use the mouse and keyboard. Close private documents, banking pages, password managers, and anything else you do not want visible before starting.
Step 1: Install and open Quick Assist
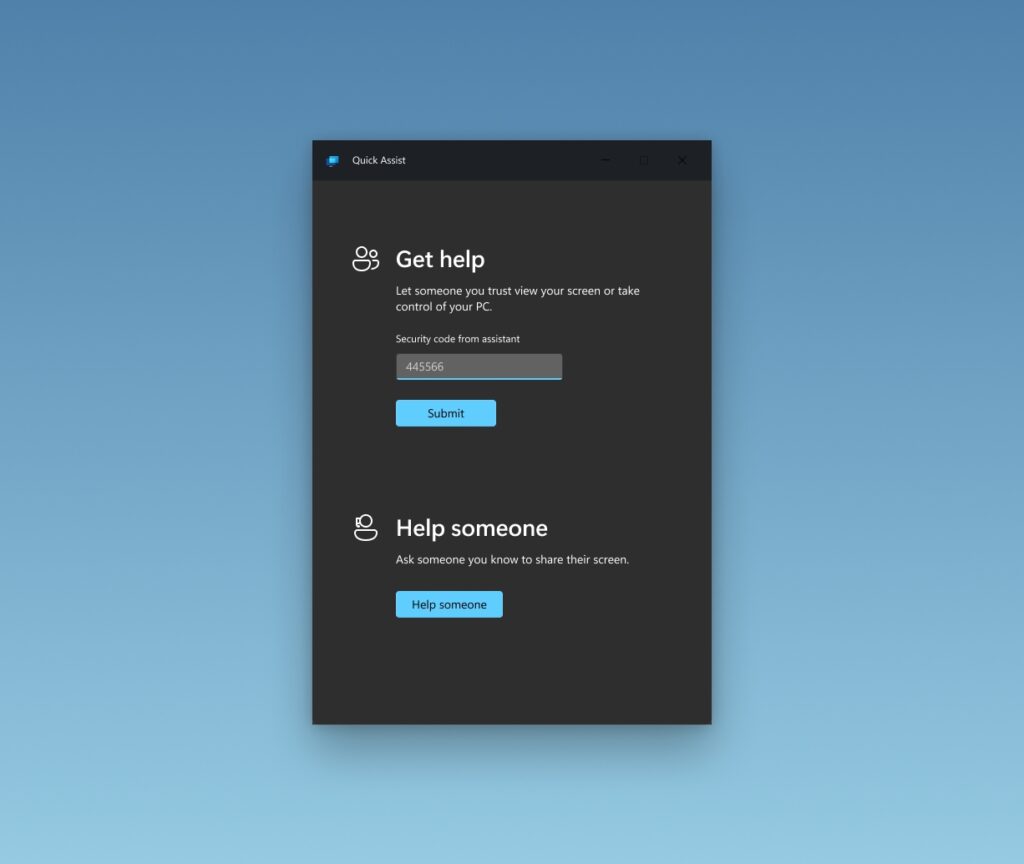
On the Windows 11 computer, open the Start menu and search for Quick Assist. If the app appears, select it. You can also press Ctrl + Windows + Q to open it.
If Quick Assist is missing, install the current app from the Microsoft Store:
- Open Start, select All apps, and open Microsoft Store.
- Search for Quick Assist.
- Open the Quick Assist listing and select Get or Install.
- When installation finishes, select Open.
Use the app published in the Microsoft Store rather than downloading a copy from a third-party website. On a work- or school-managed computer, an administrator may block Store installations. If that happens, ask your IT team before trying another method.
Step 2: The helper generates a six-digit code
The person providing help should open Quick Assist and choose Help someone. If prompted, they must sign in to their Microsoft account. Quick Assist then creates a time-limited six-digit security code.
Send the code to the person you are helping through a trusted channel, such as a phone call or a private message. Do not post it in a public group or give it to someone who contacted you unexpectedly. The code is an invitation to a remote session, so treat it like a temporary access key.
Step 3: The other person enters the code and approves the connection
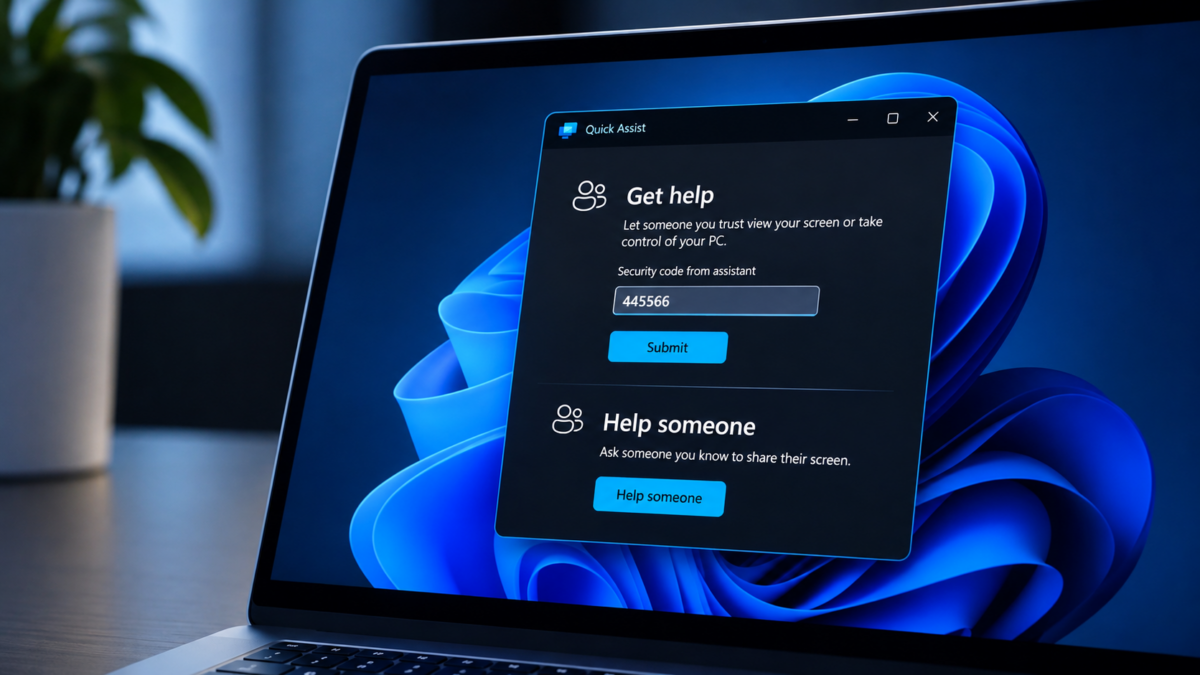
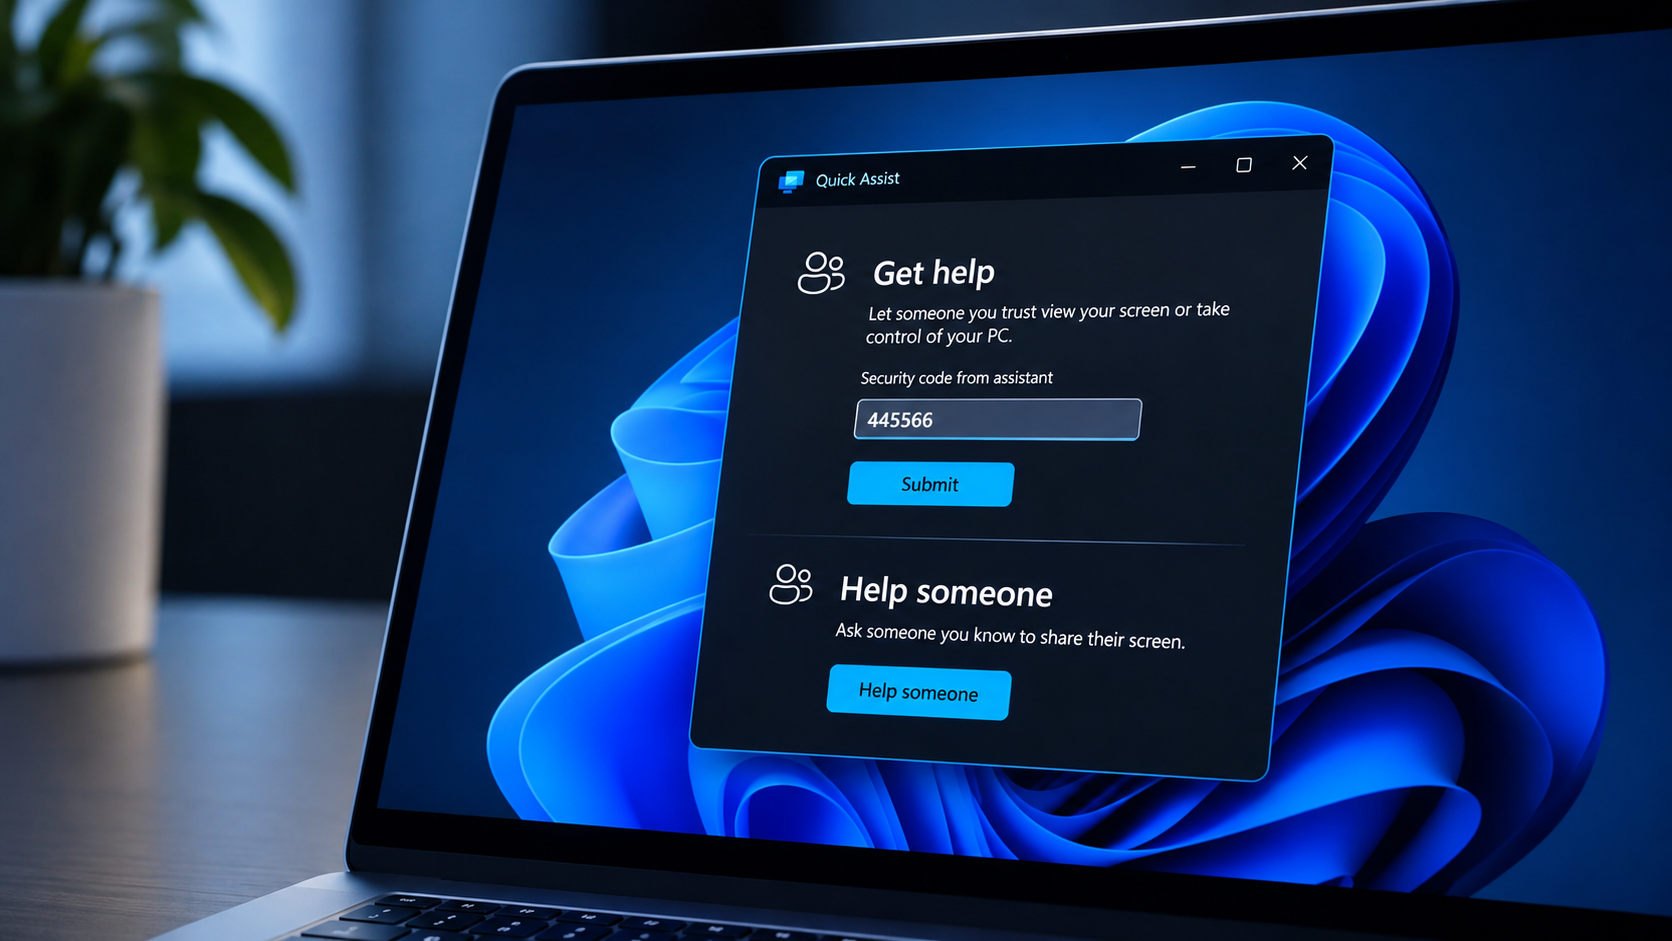
On the computer that needs help, open Quick Assist. Under Get help, find the box labelled Code from assistant (the wording may vary slightly with app updates). Enter the six-digit code and select Submit.
Quick Assist will show who is requesting the connection and ask the person to allow screen sharing. Check that the request is from the person you expected, then select Allow to share the screen. If the name is unfamiliar or you did not arrange the session, choose not to continue.
Once the connection starts, the helper can see the screen and use tools such as chat, annotation, or a laser pointer to explain what to do. Screen sharing does not automatically give the helper permission to control the computer.
Step 4: Decide whether to allow full control
If the helper needs to click buttons or change a setting, they can select Request control. The person receiving help will see another permission prompt. Select Allow only if you trust the helper and understand what they are about to do. Otherwise, choose Deny.
You can stop the helper’s control later by selecting Cancel control. The helper may still be able to see the screen while the session remains open, so use Leave when you want to end the connection completely.
Quick Assist does not give the helper more rights than the person using the computer. Some tasks that require administrator approval may still need the person at the computer to respond to a Windows User Account Control prompt. Never turn off security prompts just to make a remote session easier.
Step 5: End the remote session
When the problem is fixed, either person can select Leave in Quick Assist to close the session. The person receiving help should check that the helper is disconnected before reopening private documents or signing in to sensitive accounts. If you allowed full control, review any settings or files that were changed during the session.
How to use Quick Assist safely
Quick Assist is a legitimate Microsoft tool, but criminals also try to persuade people to install remote-access software or share access codes. Only start a session with someone you know, or with official support after you have contacted the company yourself. Microsoft warns users not to accept unsolicited remote-access requests. Our guide to tech support scams explains the warning signs to watch for.
- Never give a Quick Assist code to an unexpected caller, pop-up, email, or social media message.
- Do not share passwords, one-time codes, banking details, or recovery codes during a support session.
- Keep the session open only as long as necessary and watch what the helper is doing.
- If anything feels wrong, select Leave immediately and disconnect from the internet if you believe the other person is acting maliciously.
For the current button names and connection steps, see Microsoft’s Quick Assist support guide. Its browser-based Quick Assist option is reserved for verified Microsoft support agents; for helping a friend or family member, use the Windows app.
Fix common Quick Assist problems
Quick Assist does not appear in Start: Install it from the Microsoft Store using the steps above. If a work or school policy blocks the Store, contact the device administrator.
The code is rejected or no longer works: Ask the helper to open a new session and generate another code. Make sure you enter the current six digits and submit them before the helper closes the session.
The connection will not start: Check that both computers are online, then close and reopen Quick Assist. Microsoft says both devices need internet access that can reach its service over HTTPS. A workplace firewall or network policy may block the connection; an IT administrator can check this.
The app shows a WebView2 error: Quick Assist relies on Microsoft Edge WebView2. Microsoft says WebView2 should already be present on Windows 11, but if Quick Assist reports a WebView2 error, update Microsoft Edge and follow Microsoft’s official troubleshooting steps to repair or install the component. Do not download WebView2 installers from third-party sites.
If this article helped you, please consider supporting our work. Every small contribution keeps Abijita.com independent and running.

Microsoft Store will not install the app: Restart the computer, check for Windows updates, and make sure the device’s date, time, and region are correct. If the Store itself is stuck, Microsoft recommends resetting its cache: press Windows + R, type wsreset.exe, and select OK. The Store should reopen when the reset finishes.
For technical requirements and additional deployment details, Microsoft maintains a Quick Assist guide for Windows administrators.






SIGN UP FOR NEWSLETTERS
Please confirm your email address.
Sign up for cybersecurity newsletter and get latest news updates delivered straight to your inbox. You are also consenting to our Privacy Policy and Terms of Use.